In this tutorial, you will learn how to translate an image using OpenCV. We’ll first start by explaining the concept of translation and then see a python implementation of it. Trust me. It’s just two lines of code. Let’s get started.
What is Image Translation?
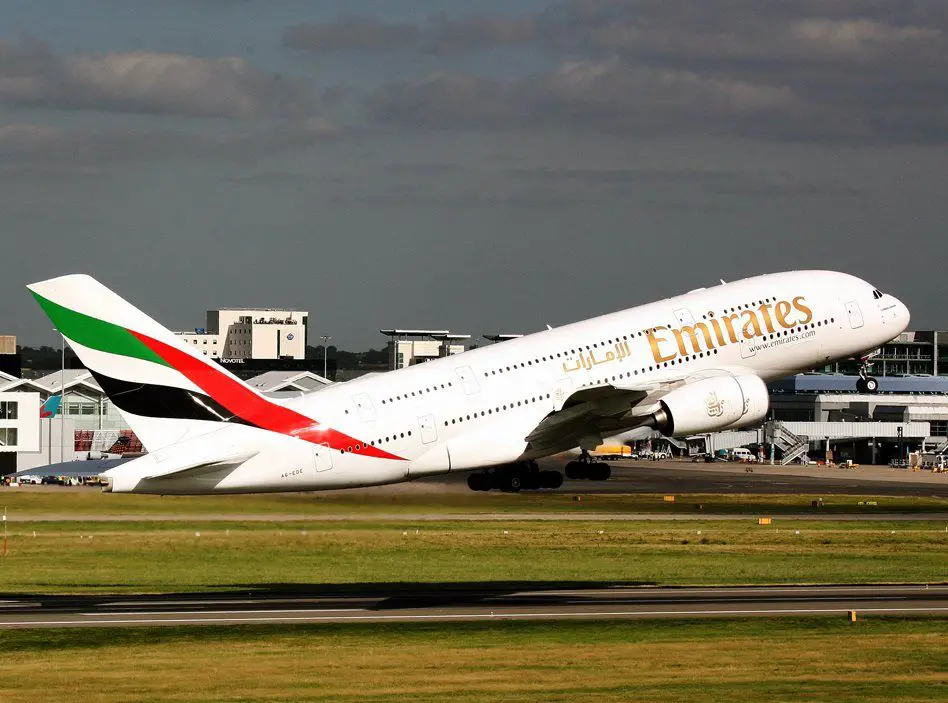
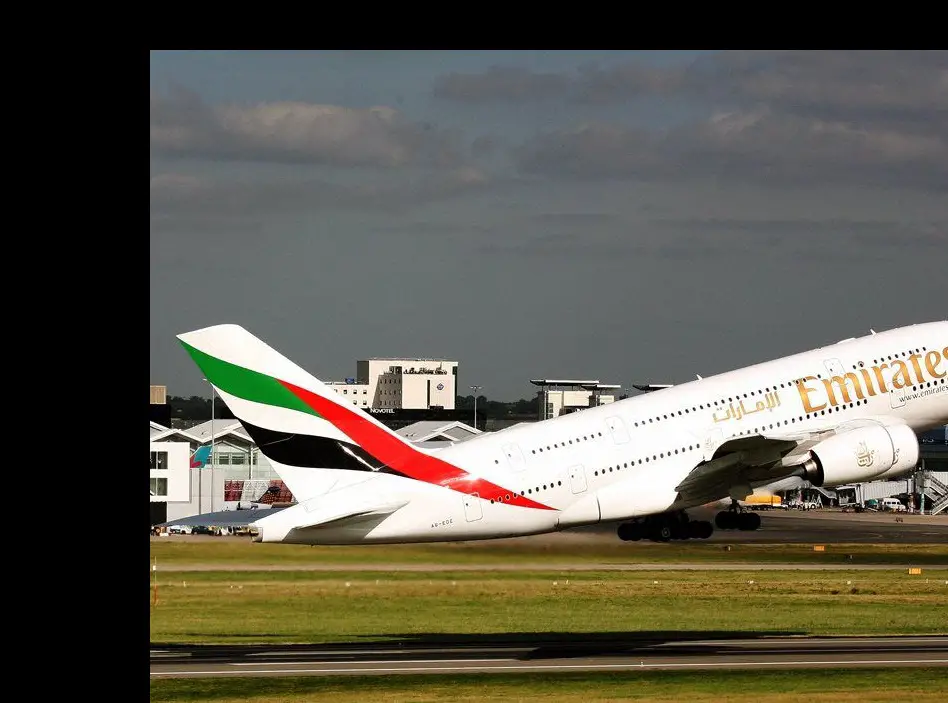
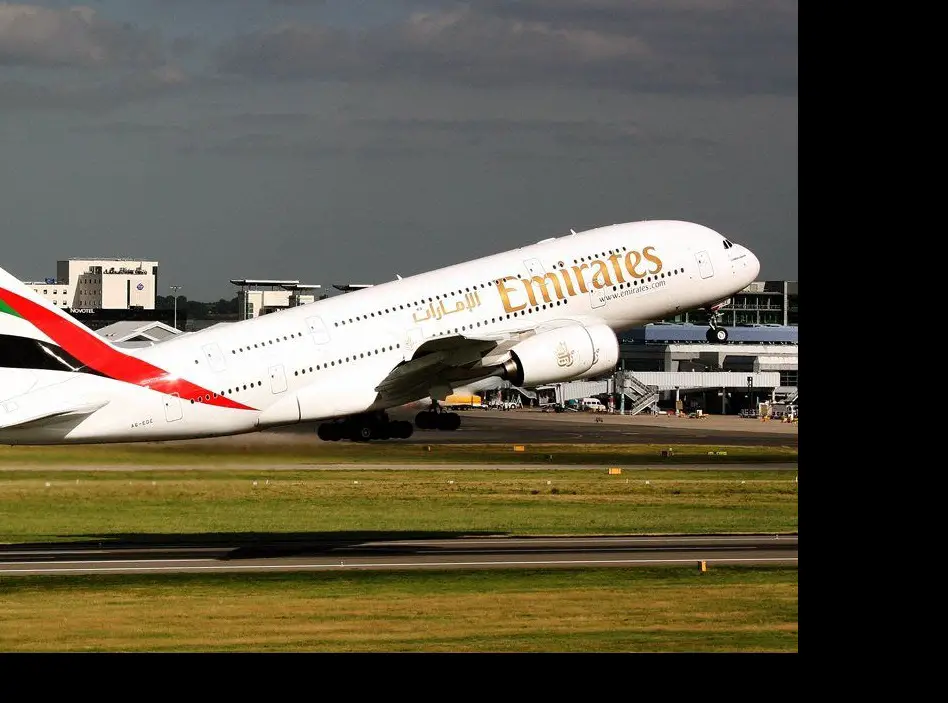
You’ve probably seen the movement of an aircraft as it moves across the sky. Well, image translation isn’t any different from what you can see in the above gif image.
It’s simply the process of shifting the image along both the x and y-axis. All the pixel values are moved in the same direction and distance to form the original image.
For this process to be possible using OpenCV, we first need to define a 2 x 3 matrix called an affine transformation matrix:
Within the translation matrix, we only care about the $t_{x}$ and $t_{y}$ values, as they provide the amount of shift in horizontal and the vertical direction:
- A negative value of $t_{x}$ will shift the image to the left.
- A positive value of $t_{x}$ will shift the image to the right.
- A negative value of $t_{y}$ will shift the image upwards.
- A positive value of $t_{y}$ will shift the image downwards.
As we mentioned earlier, translating an image requires 2 steps.
- Load the image directly from the disk
- Define the affine transformation matrix. As seen in figure 1.
- Apply the
cv2.warpAffinefunction to perform the translation.
Let’s code!
Project Structure
Before we get started implementing our Python script for this tutorial, let’s first review our project directory structure:
 →
→ 1 2 3 4 5 6 | $ tree . --dirsfirst . ├── emirates_plane.jpg └── opencv_translate.py 0 directories, 2 files |
The directory contains :
- Our Python script file
opencv_translate.py. - Our experimental image,
emirates_plane.jpg.
Let’s now implement our opencv_translate.py
Implementing the Image Translation Script
First, make a new script, naming it opencv_translate.py, and insert the following code:
1 2 3 4 5 6 7 8 9 | # import the necessary packages import numpy as np import argparse import cv2 # initialize the argument parser and establish the arguments required parser = argparse.ArgumentParser() parser.add_argument('--image', required=True, help='Path to image') args = vars(parser.parse_args()) |
Let’s import our required Python packages — all we need is cv2 for our OpenCV bindings, numpy and argparse for command line arguments (lines 2 – 4). Here we only need a single argument, --image to specify where the input image is located (lines 6 – 8).
11 12 13 14 15 16 17 | # load the image and show it on screen image = cv2.imread(args['image']) cv2.imshow("Image", image) cv2.waitKey(0) # grab the height and width of the image (h, w) = image.shape[:2] |
First, we will instruct OpenCV to go and find the image "emirate_plane.jpg", read it, and then store it in this variable "image". Then display the output towards our screen.
20 21 22 23 24 25 26 | # shift the image 150 pixels to the right and 50 pixels down # then display the result to the image M = np.float32([[1, 0, 150], [0, 1, 50]]) shifted = cv2.warpAffine(image, M, (w, h)) cv2.imshow("Shifted right and down", shifted) cv2.waitKey(0) |
Next, let’s define our affine translation matrix and store it in a variable named “M”. You’ll also need to be aware that OpenCV expects this matrix to be of type float, which is why we had to convert the datatype from integers.
Since we want to shift our image 150 pixels towards the right and 50 pixels downwards, we must specify that in-place of \(t_{x}\) and \(t_{y}\) within the translation matrix shown in figure 1.
Now that we have defined our translation matrix, the main translation takes place on line 24, where we call the cv2.warpAffine function.
Within this function, we need to provide 3 parameters.
- The first argument is the image we want to perform the shift
- The second is our translation matrix ( already stored in the variable M)
- The third is the dimension of the image ( the width and height)
Let’s display the results the see what we’ve accomplished up until now:
Can you notice how the image has been “shifted” down and to the right?
Yep, that’s right!
Now let’s examine another example where the image is being “shifted” upwards and to the left.
29 30 31 32 33 34 35 36 37 38 39 | # shift the image 150 pixels to the left and # 50 pixels upwards then display the result M = np.float32([[1, 0, -150], # 1,0, shiftX [0, 1, -50]]) # 0,1, shiftY shifted = cv2.warpAffine(image, M, (w, h)) cv2.imshow("Shifted left and up", shifted) # waits for any key to be pressed then remove # any created gui window from the screen & memory cv2.waitKey(0) cv2.destroyAllWindows() |
The same procedure as what we’ve done with the previous example still applies. The only difference is within lines 31 – 32. Here we will have to supply different values for both \(t_{x}\) and \(t_{y}\), which are negative.
Let’s have a look at the output:
Display OpenCV Flip Result
Now that’s implemented, it’s time to run our script. So, fire up your terminal, and execute the following command:
1 2 | $ python3 opencv_translate.py --image emirates_plane.jpg $ |
The output we’ll get should match the results in the previous sections shown above.
Summary
This article has explained what image translation is about and how to translate your images using OpenCV. We also talked about the affine translation matrix and other necessary parameters crucial for translating any image using OpenCV.
What’s Next?
Now, what’s next? in the following tutorial, we will explore the library OpenCV’s functionalities. Until then, share, like the video above, comment, and subscribe.
Further Reading
We have listed some useful resources below if you thirst for more reading.
- A Simple Walk-through with NumPy for Data Science
- Drawing (Rectangles, Circles & Text) using OpenCV
- How to Split an Image into 4 Pieces OpenCV
- How to Read and Display an Image using OpenCV
- 3 Rookie Mistakes People Make Installing OpenCV | Avoid It!
- Why Google and Microsoft uses OpenCV
- Why is Python the most popular language for Data Science


