This tutorial will teach you how to crop an image with OpenCV.
What is Cropping?
Cropping, one of the most crucial operations of image processing — is the process of selecting and extracting regions of interest (or simply, ROI) of an image, excluding redundant parts not required for further processing.
Before we move ahead, excluding redundant parts of an image, if you aren’t quite familiar with act indexing and slicing with NumPy, I strongly recommend you revise an in-depth tutorial already made for you.
Without further ado, let’s begin slicing the region of interest in our image.
Project Structure
Before we get started implementing our Python script for this tutorial, let’s first review our project directory structure:
 →
→ 1 2 3 4 5 6 | $ tree . --dirsfirst . ├── elon_musk_tesla.png └── opencv_crop.py 0 directories, 2 files |
The directory contains :
- Our Python script file
opencv_crop.py. - Our experimental image,
elon_musk_tesla.png.
Let’s now implement our opencv_crop.py
Implementing the Image Crop Script
First, make a new script, naming it opencv_crop.py, and insert the following code:
1 2 3 4 5 6 7 8 | # import the necessary packages import argparse import cv2 # initialize the argument parser and establish the arguments required parser = argparse.ArgumentParser() parser.add_argument('--image', required=True, help='Path to image') args = vars(parser.parse_args()) |
Let’s import our required Python packages — all we need is cv2 for our OpenCV bindings and argparse for command line arguments (lines 2 – 3). Here we only need a single argument, --image, to specify where the input image is located (lines 6 – 8).
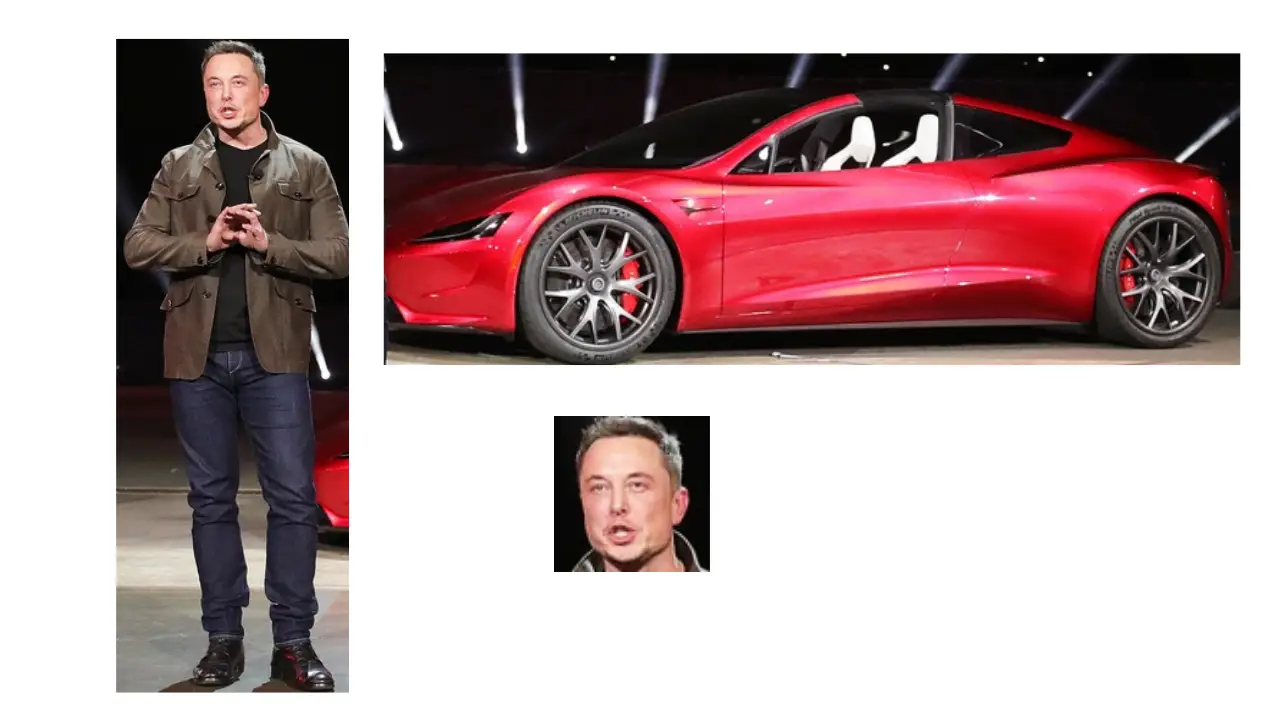
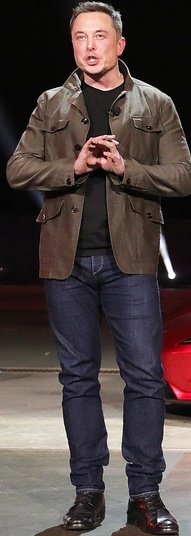
10 11 12 13 14 15 16 17 18 | # load the image and show it on screen image = cv2.imread(args['image']) cv2.imshow("Image", image) # grab only elon musk body elonBody = image[1:537, 65:256] cv2.imshow("Elon Body", elonBody) cv2.waitKey(0) |
Next, we will instruct OpenCV to go and find the image "elon_musk_tesla.png", read it, and then store it in this variable "image". Then later, display the output towards our screen:

Now to crop out only the body of Elon Musk from the image, we will supply a NumPy array slice to grab that region of the image, starting at (65, 1) and ending at (256, 537).
Let’s have a look at the cropped region of Elon’s body:
To clarify the indexes supplied above, we must remember OpenCV represents NumPy arrays with:
- First, the height of the image (Number of rows)
- Then, the width of an image (Number of columns)
And for cropping to be done, we have to include these four indexes, which translates to:
- Start y: The starting y-coordinate. We start the crop at y=1.
- End y: The ending y-coordinate. We end at y=537.
- Start x: The starting x-coordinate. That being the case, we start at x=65.
- End x: The ending x-coordinate. We’ll end the image slice at x=256.
14 15 16 17 | # grab only elon face elonFace = image[3:80, 124:201] cv2.imshow("Elon Face", elonFace) cv2.waitKey(0) |
Similarly, we can crop only a section of his face as we’ve done with his body by supplying a NumPy array slice, starting at (124, 3) and ending at (201,80).
Take a look at the output:

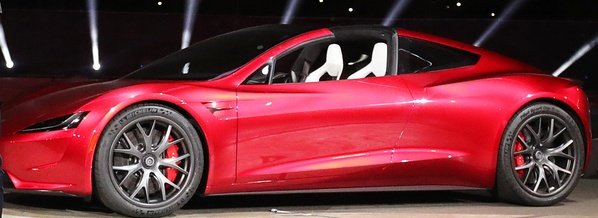
19 20 21 22 23 24 25 26 | # grab the tesla car teslaCar = image[212:430, 227:825] cv2.imshow("Tesla Car", teslaCar) # waits for any key to be pressed then remove # any created gui window from the screen & memory cv2.waitKey(0) cv2.destroyAllWindows() |
Finally, we can extract the region which contains only the Tesla vehicle in the image, by supplying a NumPy array slice starting at (227, 212) and ending at (825,430).
Now, take a look at the output:
Final Thoughts
Have you noticed any pattern until now?
When applying the slicing to our image, we are always following a specific syntax pattern which is:
image[startY:endY, startX:endX]
- (startY, endY): The starting and ending (y) coordinates of an image.
- (startX, endX): The starting and ending (x) coordinates of an image.
Makes sense?
If it feels a bit confusing for you, don’t give up yet.
I remember a couple of years back getting started within indexing with NumPy. Honestly, it wasn’t fun. However, the more you keep practicing, trust me, you’ll keep making improvements.
Display OpenCV Crop Result
Now that’s implemented, it’s time to run our script. So, fire up your terminal, and execute the following command:
1 2 | $ python3 opencv_crop.py --image images/elon_musk_tesla.png $ |
The output we’ll get should match the results in the previous sections shown above.
Summary
This article has explained how to use OpenCV to slice the region of an image we are interested in and cut off unwanted regions from an image, which we aren’t required for further processing — using the syntax:
cropImage = image[startY:endY, startX:endX]
That’s it. Nothing else.
What’s Next?
Now, what’s next? in the following tutorial, we will explore the library OpenCV’s functionalities. Until then, share, like the video above, comment, and subscribe.
Further Reading
We have listed some useful resources below if you thirst for more reading.
- A Simple Walk-through with NumPy for Data Science
- Drawing (Rectangles, Circles & Text) using OpenCV
- How to Split an Image into 4 Pieces OpenCV
- How to Read and Display an Image using OpenCV
- 3 Rookie Mistakes People Make Installing OpenCV | Avoid It!
- Why Google and Microsoft uses OpenCV
- Why is Python the most popular language for Data Science


